October 18, 2026
A Dressmaking Course in Practice: One Shirt, Step by Step
People ask what they will actually make on a sewing course, and the honest answer is hard to give in words. So here is one instead of an answer: a shirt, made by one of my students, photographed by her at every stage.
Raghad took these herself as she went. Nothing is staged, nothing is tidied up for the camera, and the floor appears because her table was not big enough.
It starts on the floor
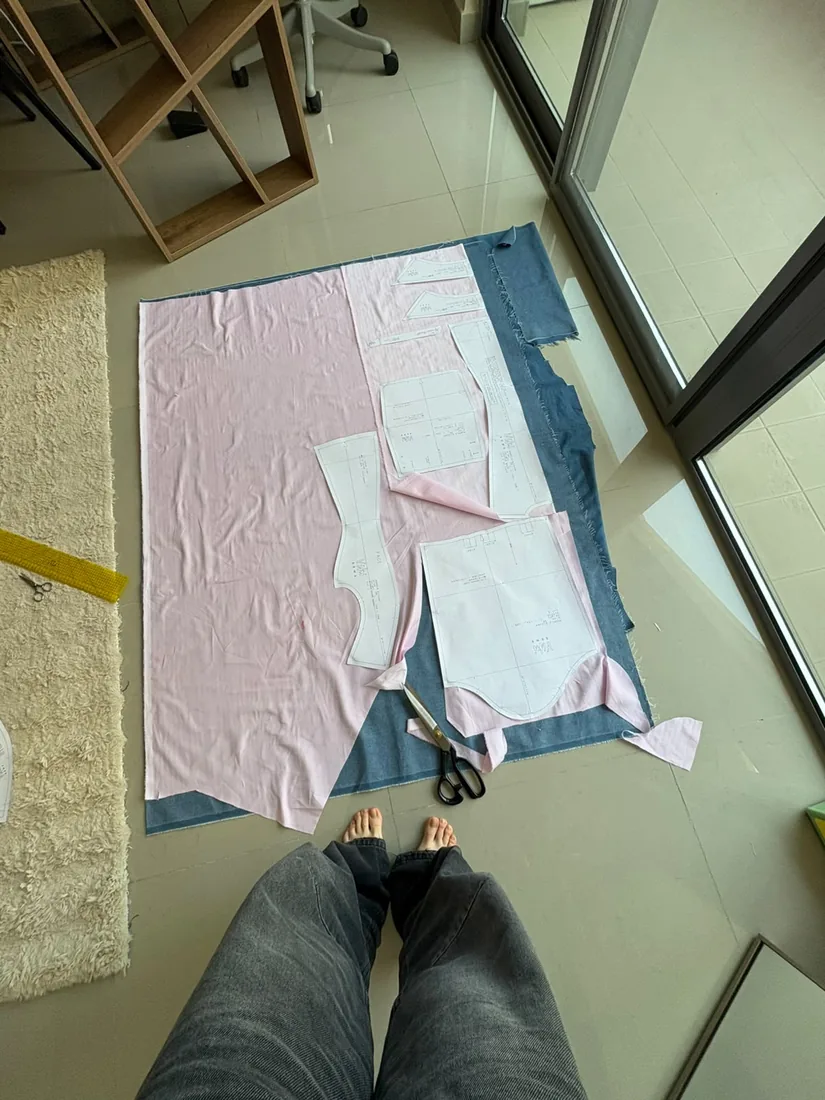
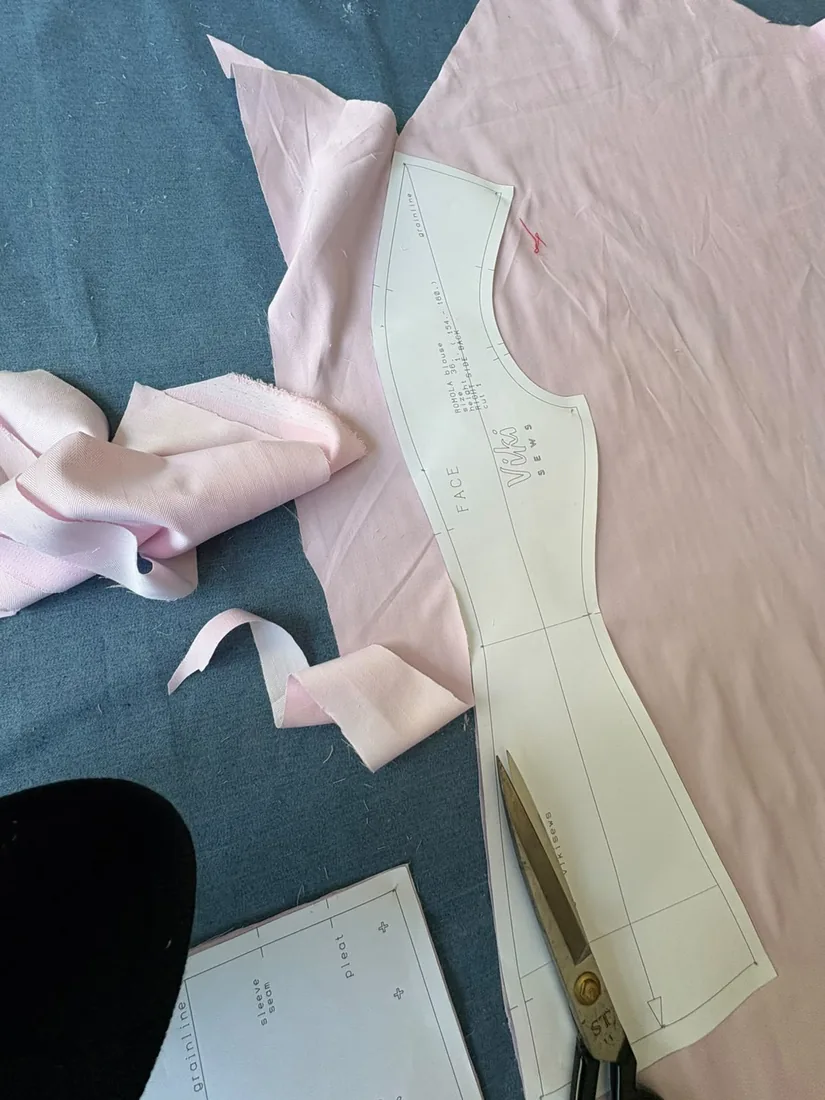
Cutting is where a garment is decided. Sew badly and you can unpick it. Cut badly and the piece is simply the wrong shape, and no amount of careful stitching afterwards brings it back. So this stage is slow on purpose, and it is the one beginners always want to rush.
The parts nobody sees are the ones that show
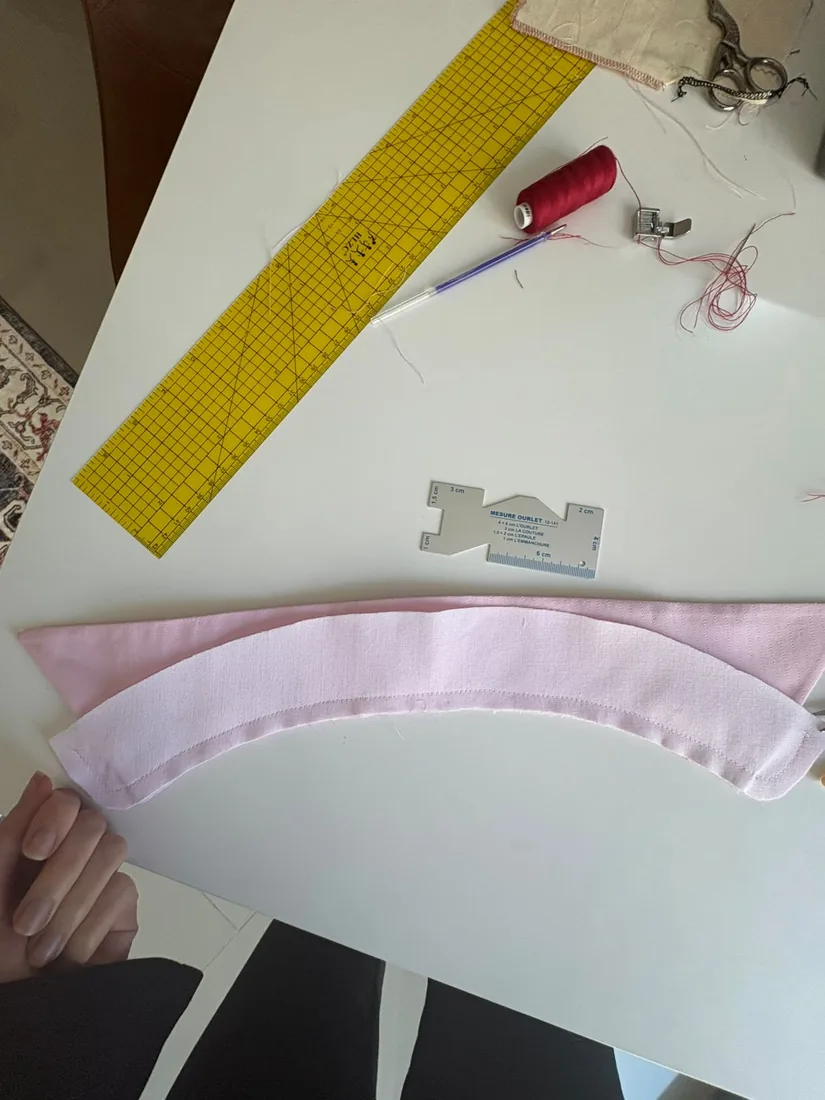
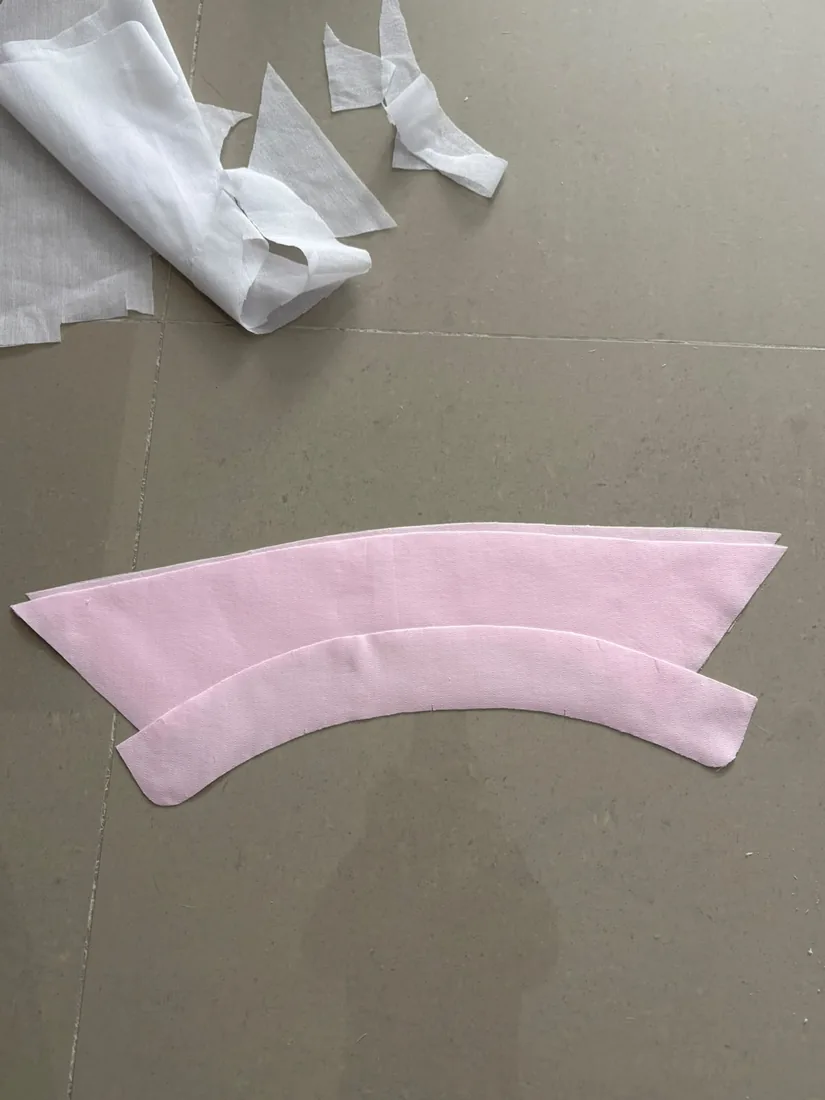
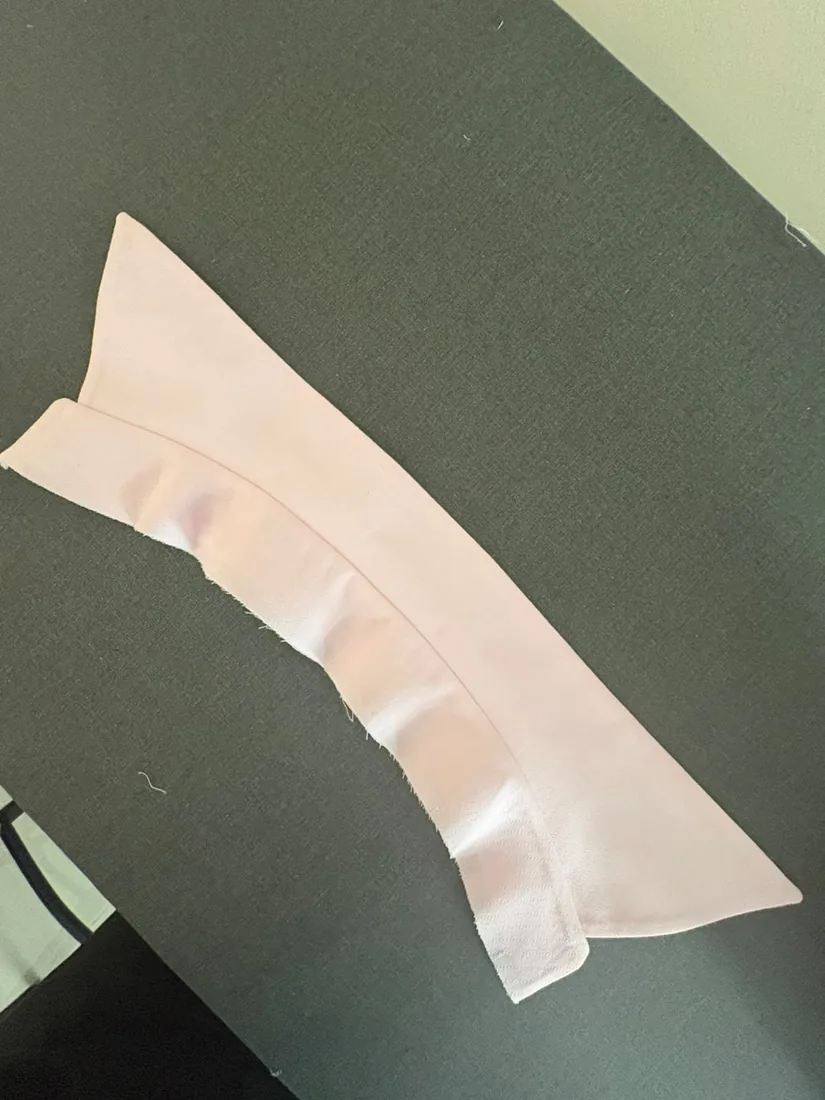
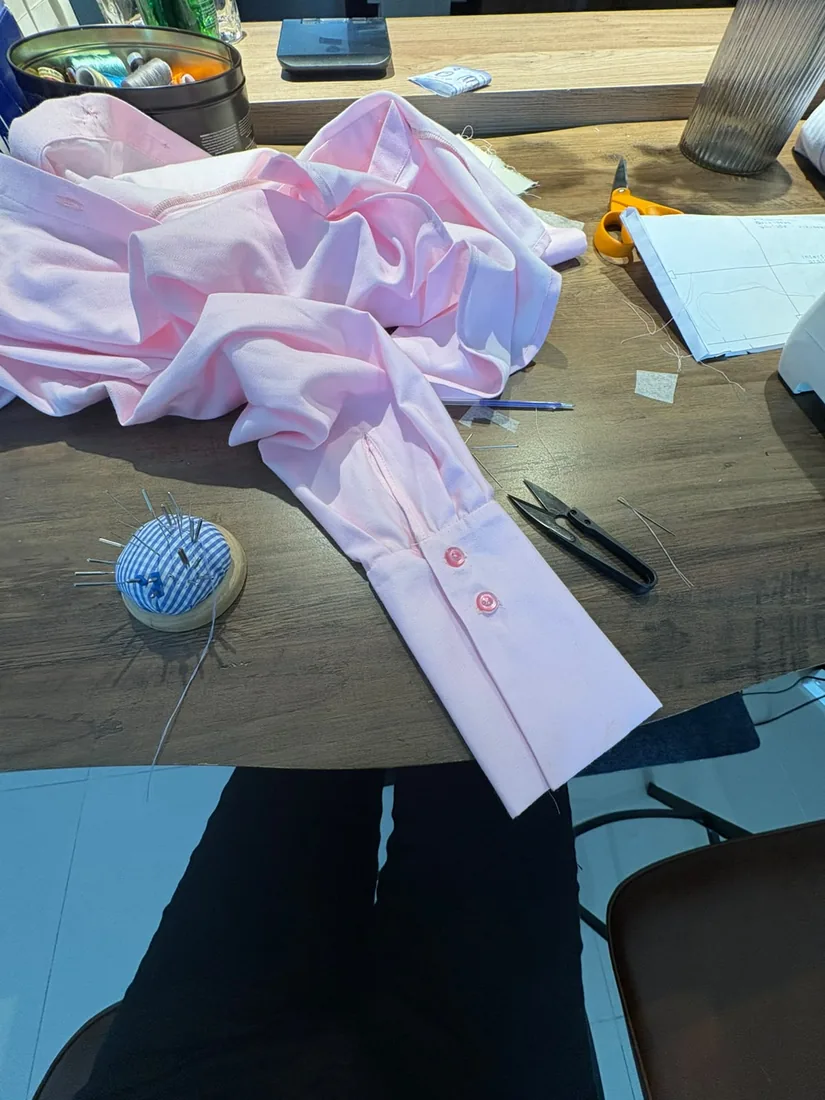
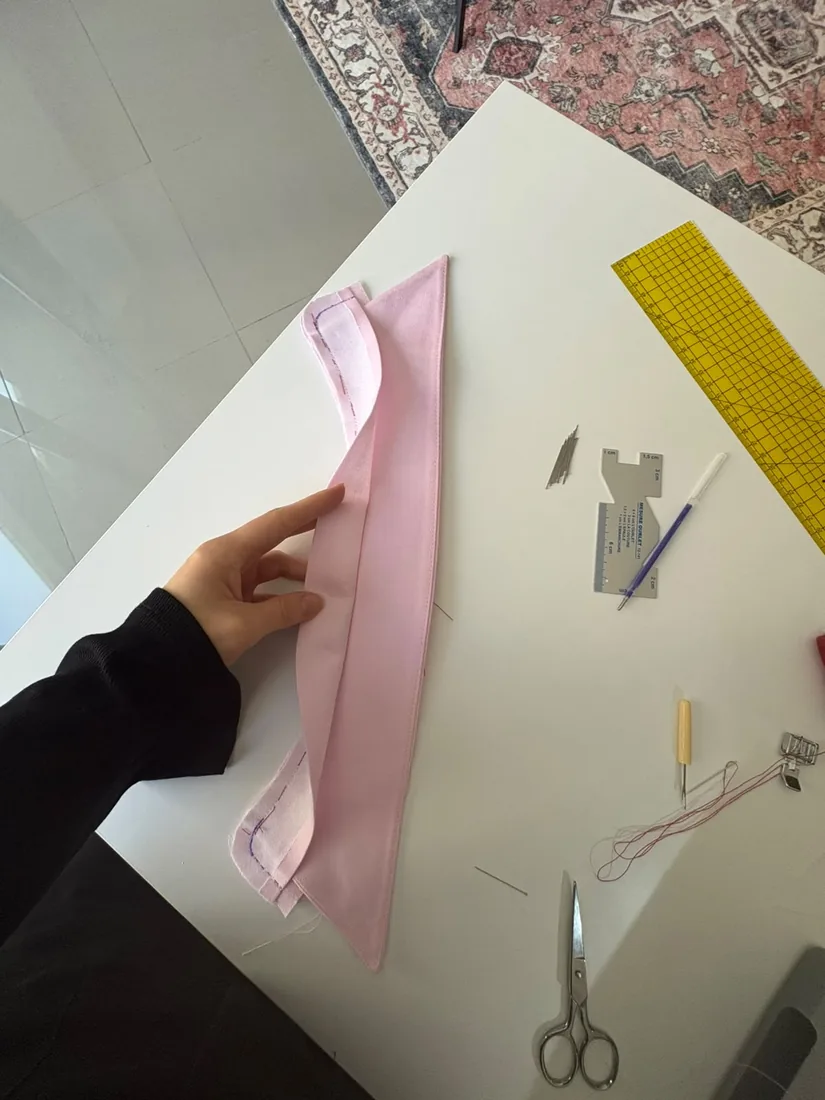
A shirt is judged at the collar and the cuffs, which is unfair, because they are the hardest parts of it. The stand is a curve sewn to another curve and then turned, and a couple of millimetres off at the marking stage comes back as a collar that sits crooked on the neck.
The iron does more of this work than the machine does. Every one of those edges was pressed before it was sewn.
Machine and hands
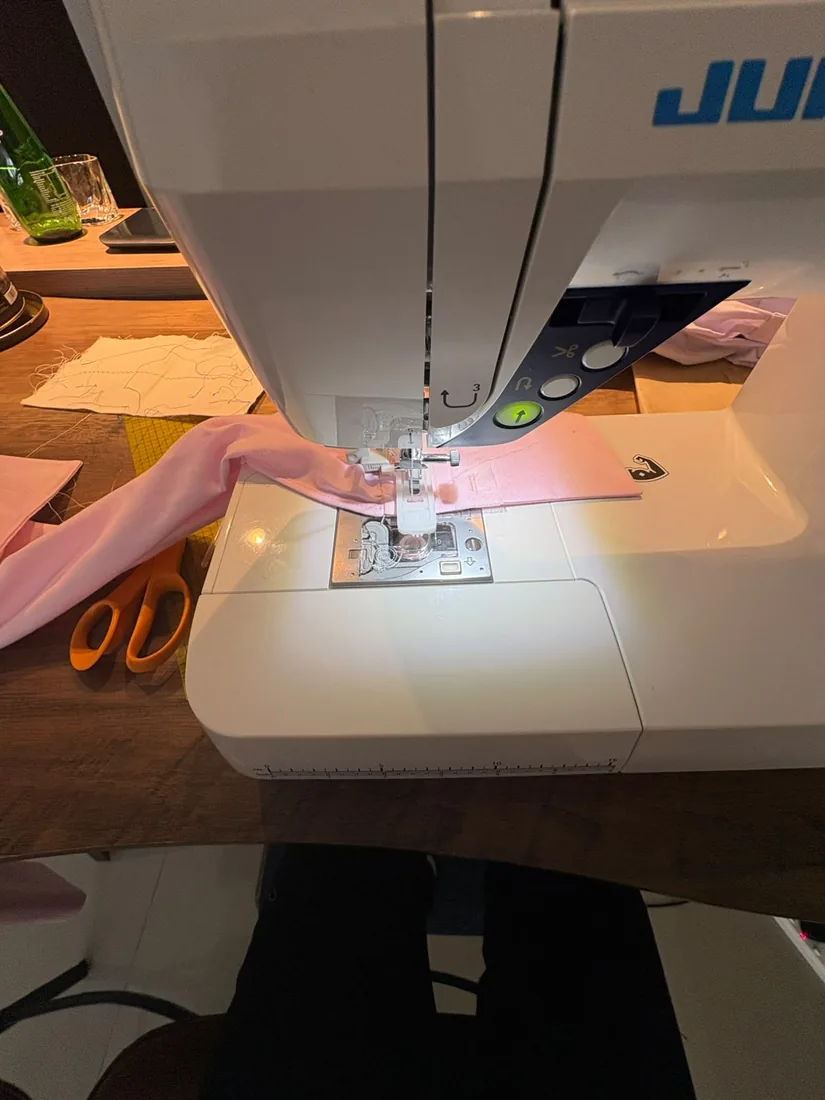
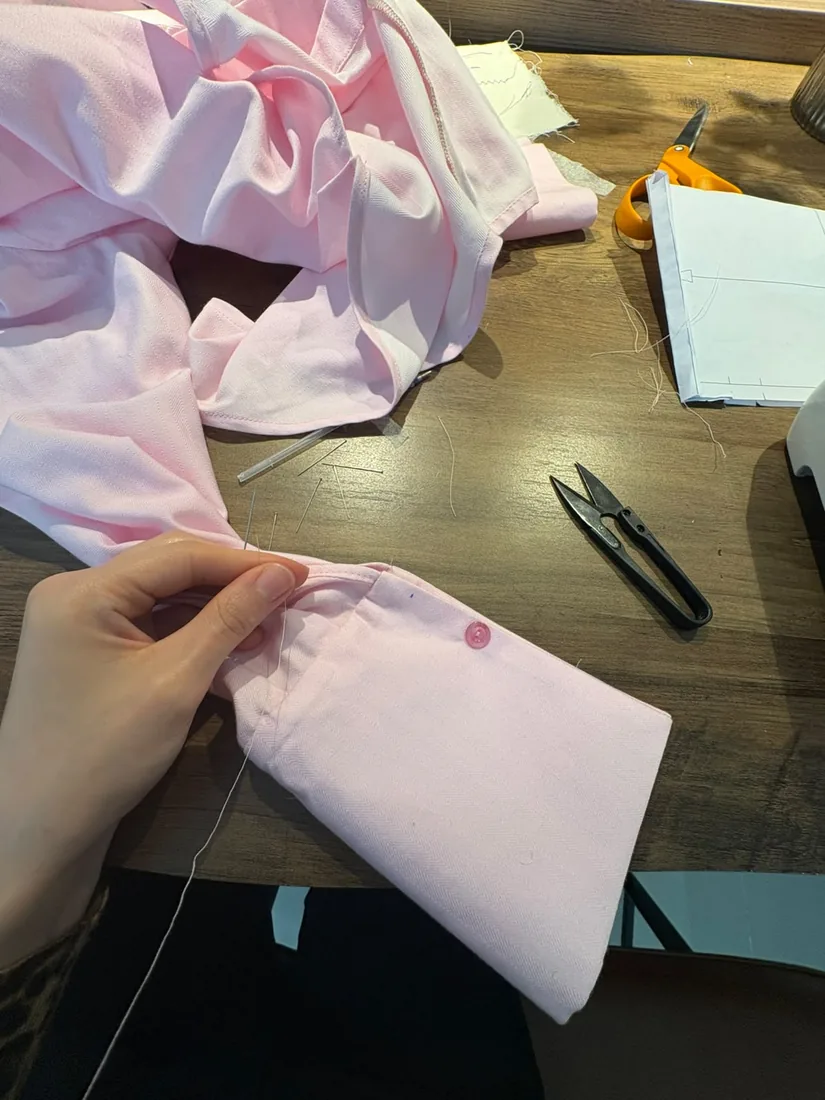
Even topstitching is the whole difference between a shirt that looks made and one that looks homemade, and it is a physical skill rather than a clever one. You get it by doing it.
And some of it never goes near a machine. The parts that have to be invisible get closed by hand.
Putting it together
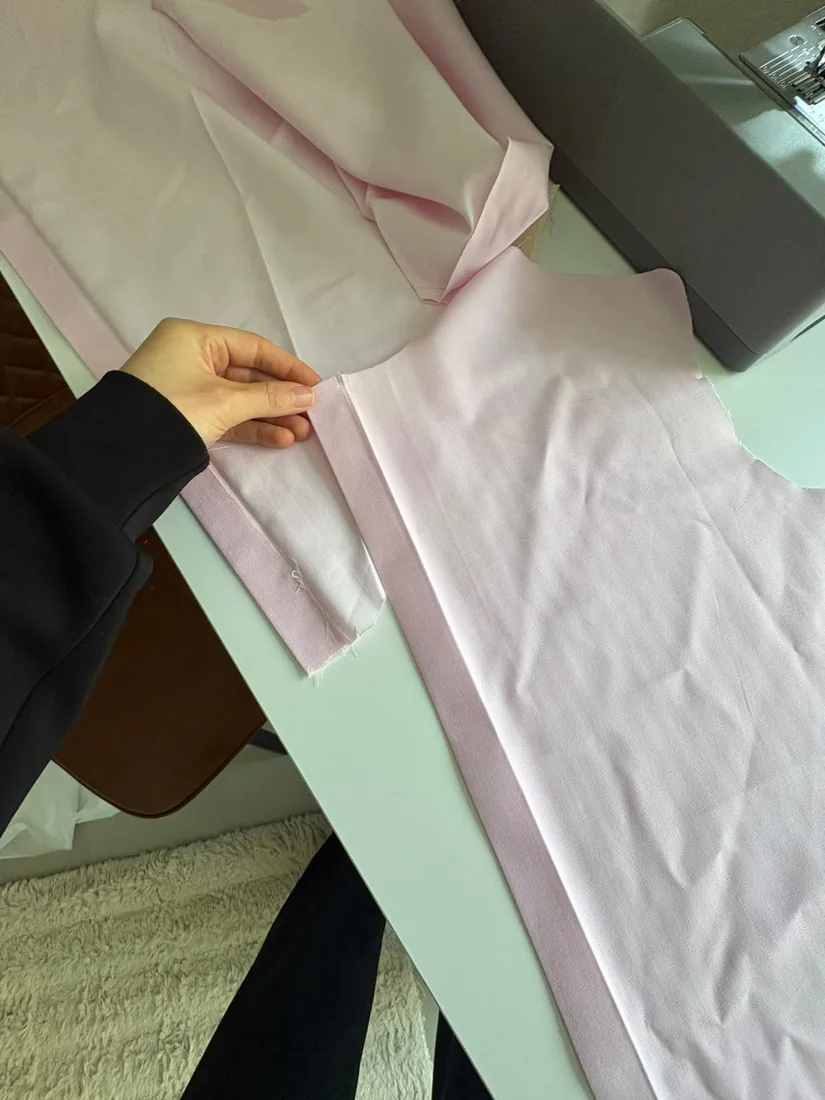
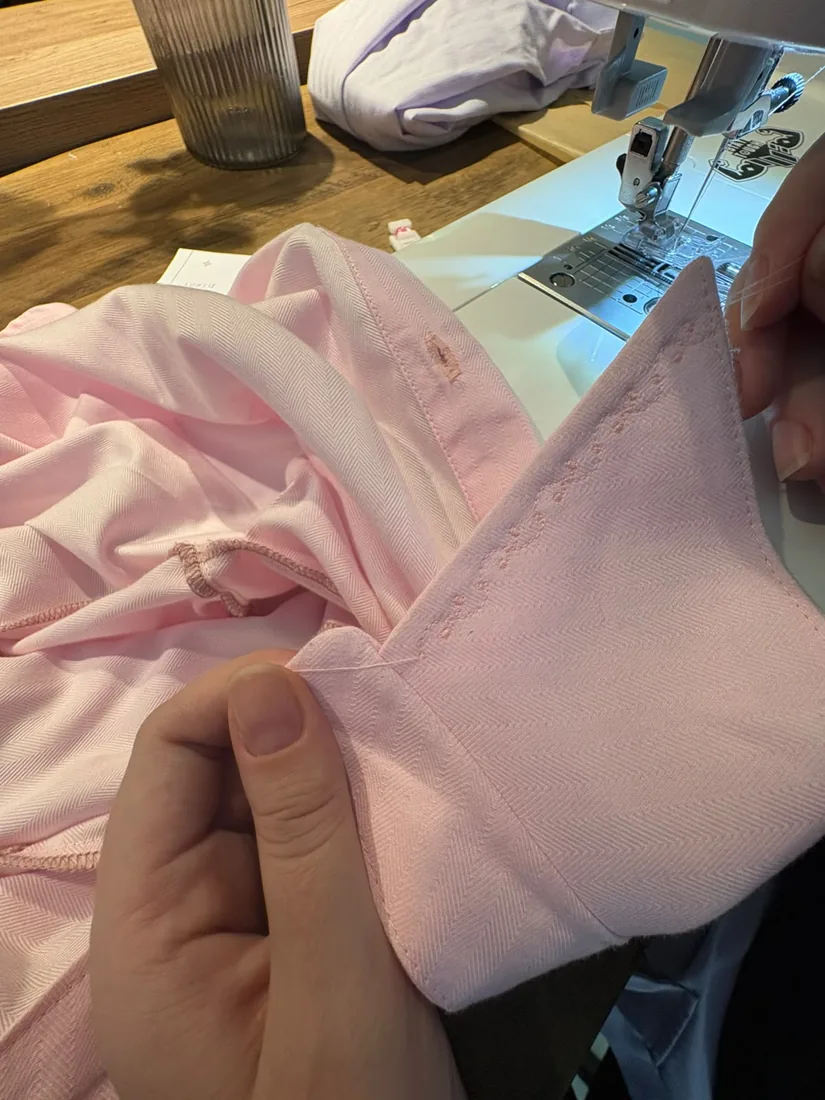
A shirt cannot be assembled in whatever order you like. Sleeves before side seams, collar after the stand, and the front edge set straight before anything is buttoned. Learning the order is half of learning shirts.
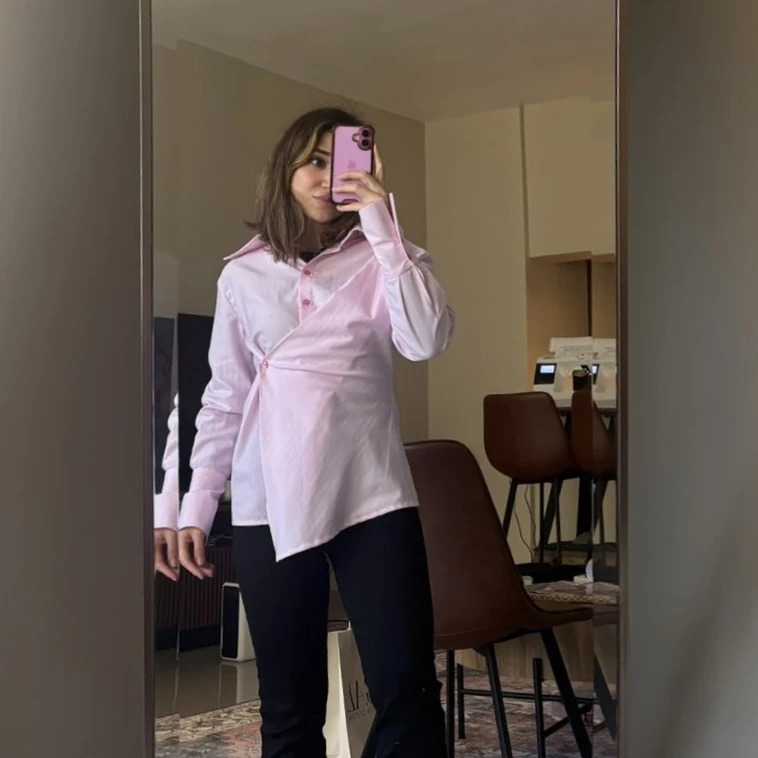
And then it is a shirt
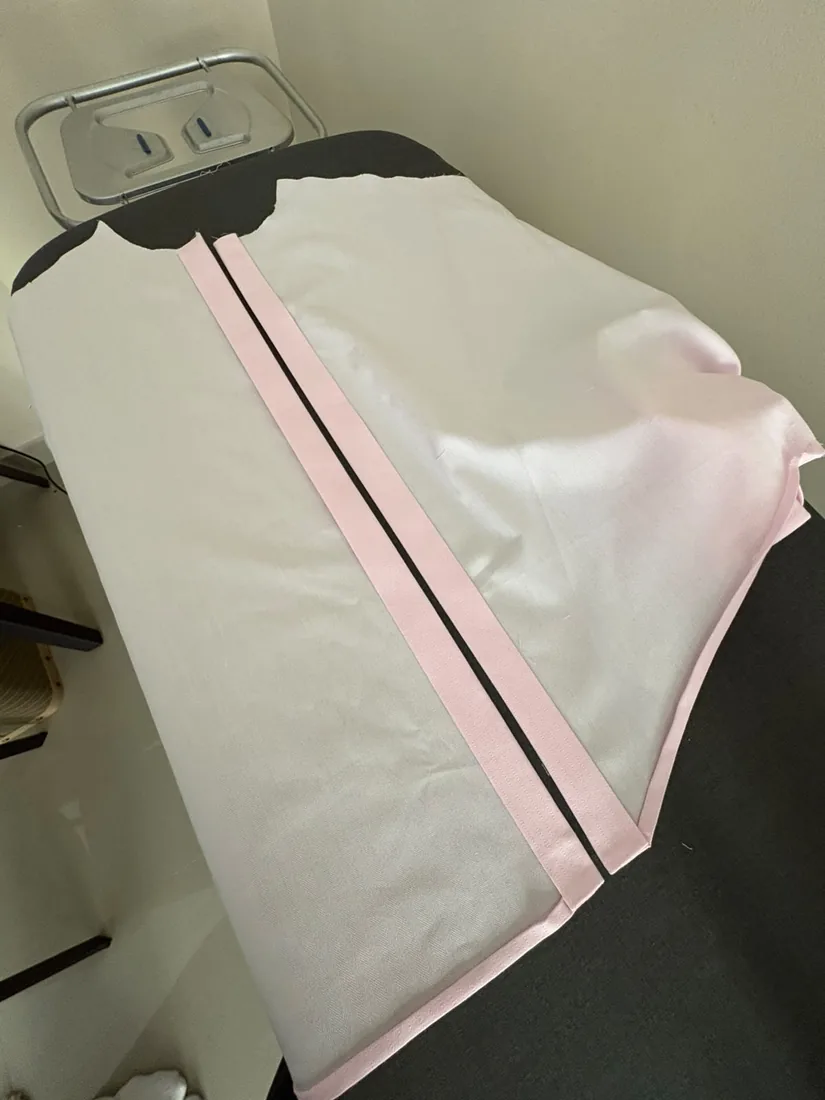
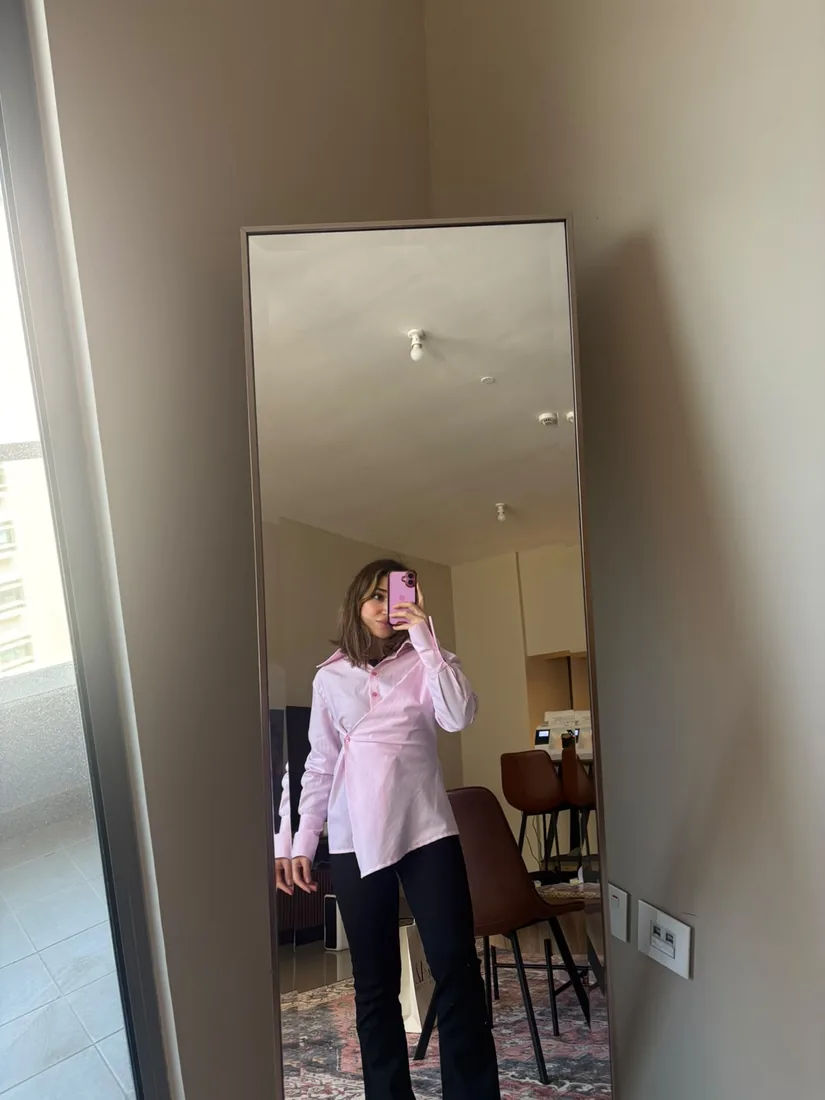
That last photograph is the one that matters. A finished garment laid out on a table proves it was sewn. A garment being worn proves it fits, and fitting is the entire point of making your own clothes.
How long this took
Not one lesson, and I will not pretend otherwise. A shirt with a two-piece collar, cuffs and a proper front edge is a real project, and it came after the simpler pieces that teach the machine.
That is how the classes are built: accessories and simple pieces while your hands learn, then garments once they have. If you want the order spelled out, I wrote about what happens in a first lesson and about drafting patterns from your own measurements, which is where this goes next.
Raghad agreed to let me show all of this, which I am grateful for. Most of what a course produces stays in people's wardrobes where nobody sees it.
Read Also
Your First Sewing Class in Abu Dhabi, Start to Finish
Ninety minutes, nothing to bring, and a finished piece to take home. What happens in the first lesson, in the order it happens.
Pattern Drafting in Abu Dhabi: The End of Almost Fitting
Bought patterns are drafted for an average body and then graded. Drafting starts from your own measurements, so nothing has to be forced to fit.
What Sewing Classes Cost in Abu Dhabi, and What Is Included
A first lesson is 250 AED, then 300 for two to three hours. Machine, tools, patterns and practice fabric are included. Fabric for your own pieces is not.
Private Sewing Classes in Abu Dhabi, and Why Not a Group
One student, one teacher, and a programme built around what you want to make. Why sewing is a poor fit for group classes, and what I do instead.